Hi! Welcome to my Garden. In this post, I want to share how I created a quick and inexpensive grow light setup in my under-utilized dining room.
An indoor space with grow lights can really change your seed starting game. A common problem with starting seeds indoors is how easily they can stretch for light and become ‘leggy’. If you plan on starting seeds early enough that you can’t put them outside for an hour or two each day, the lack of airflow and bright light will make cause your seedlings grow tall and spindly.
Here is what you will need to get your first grow space up and running.
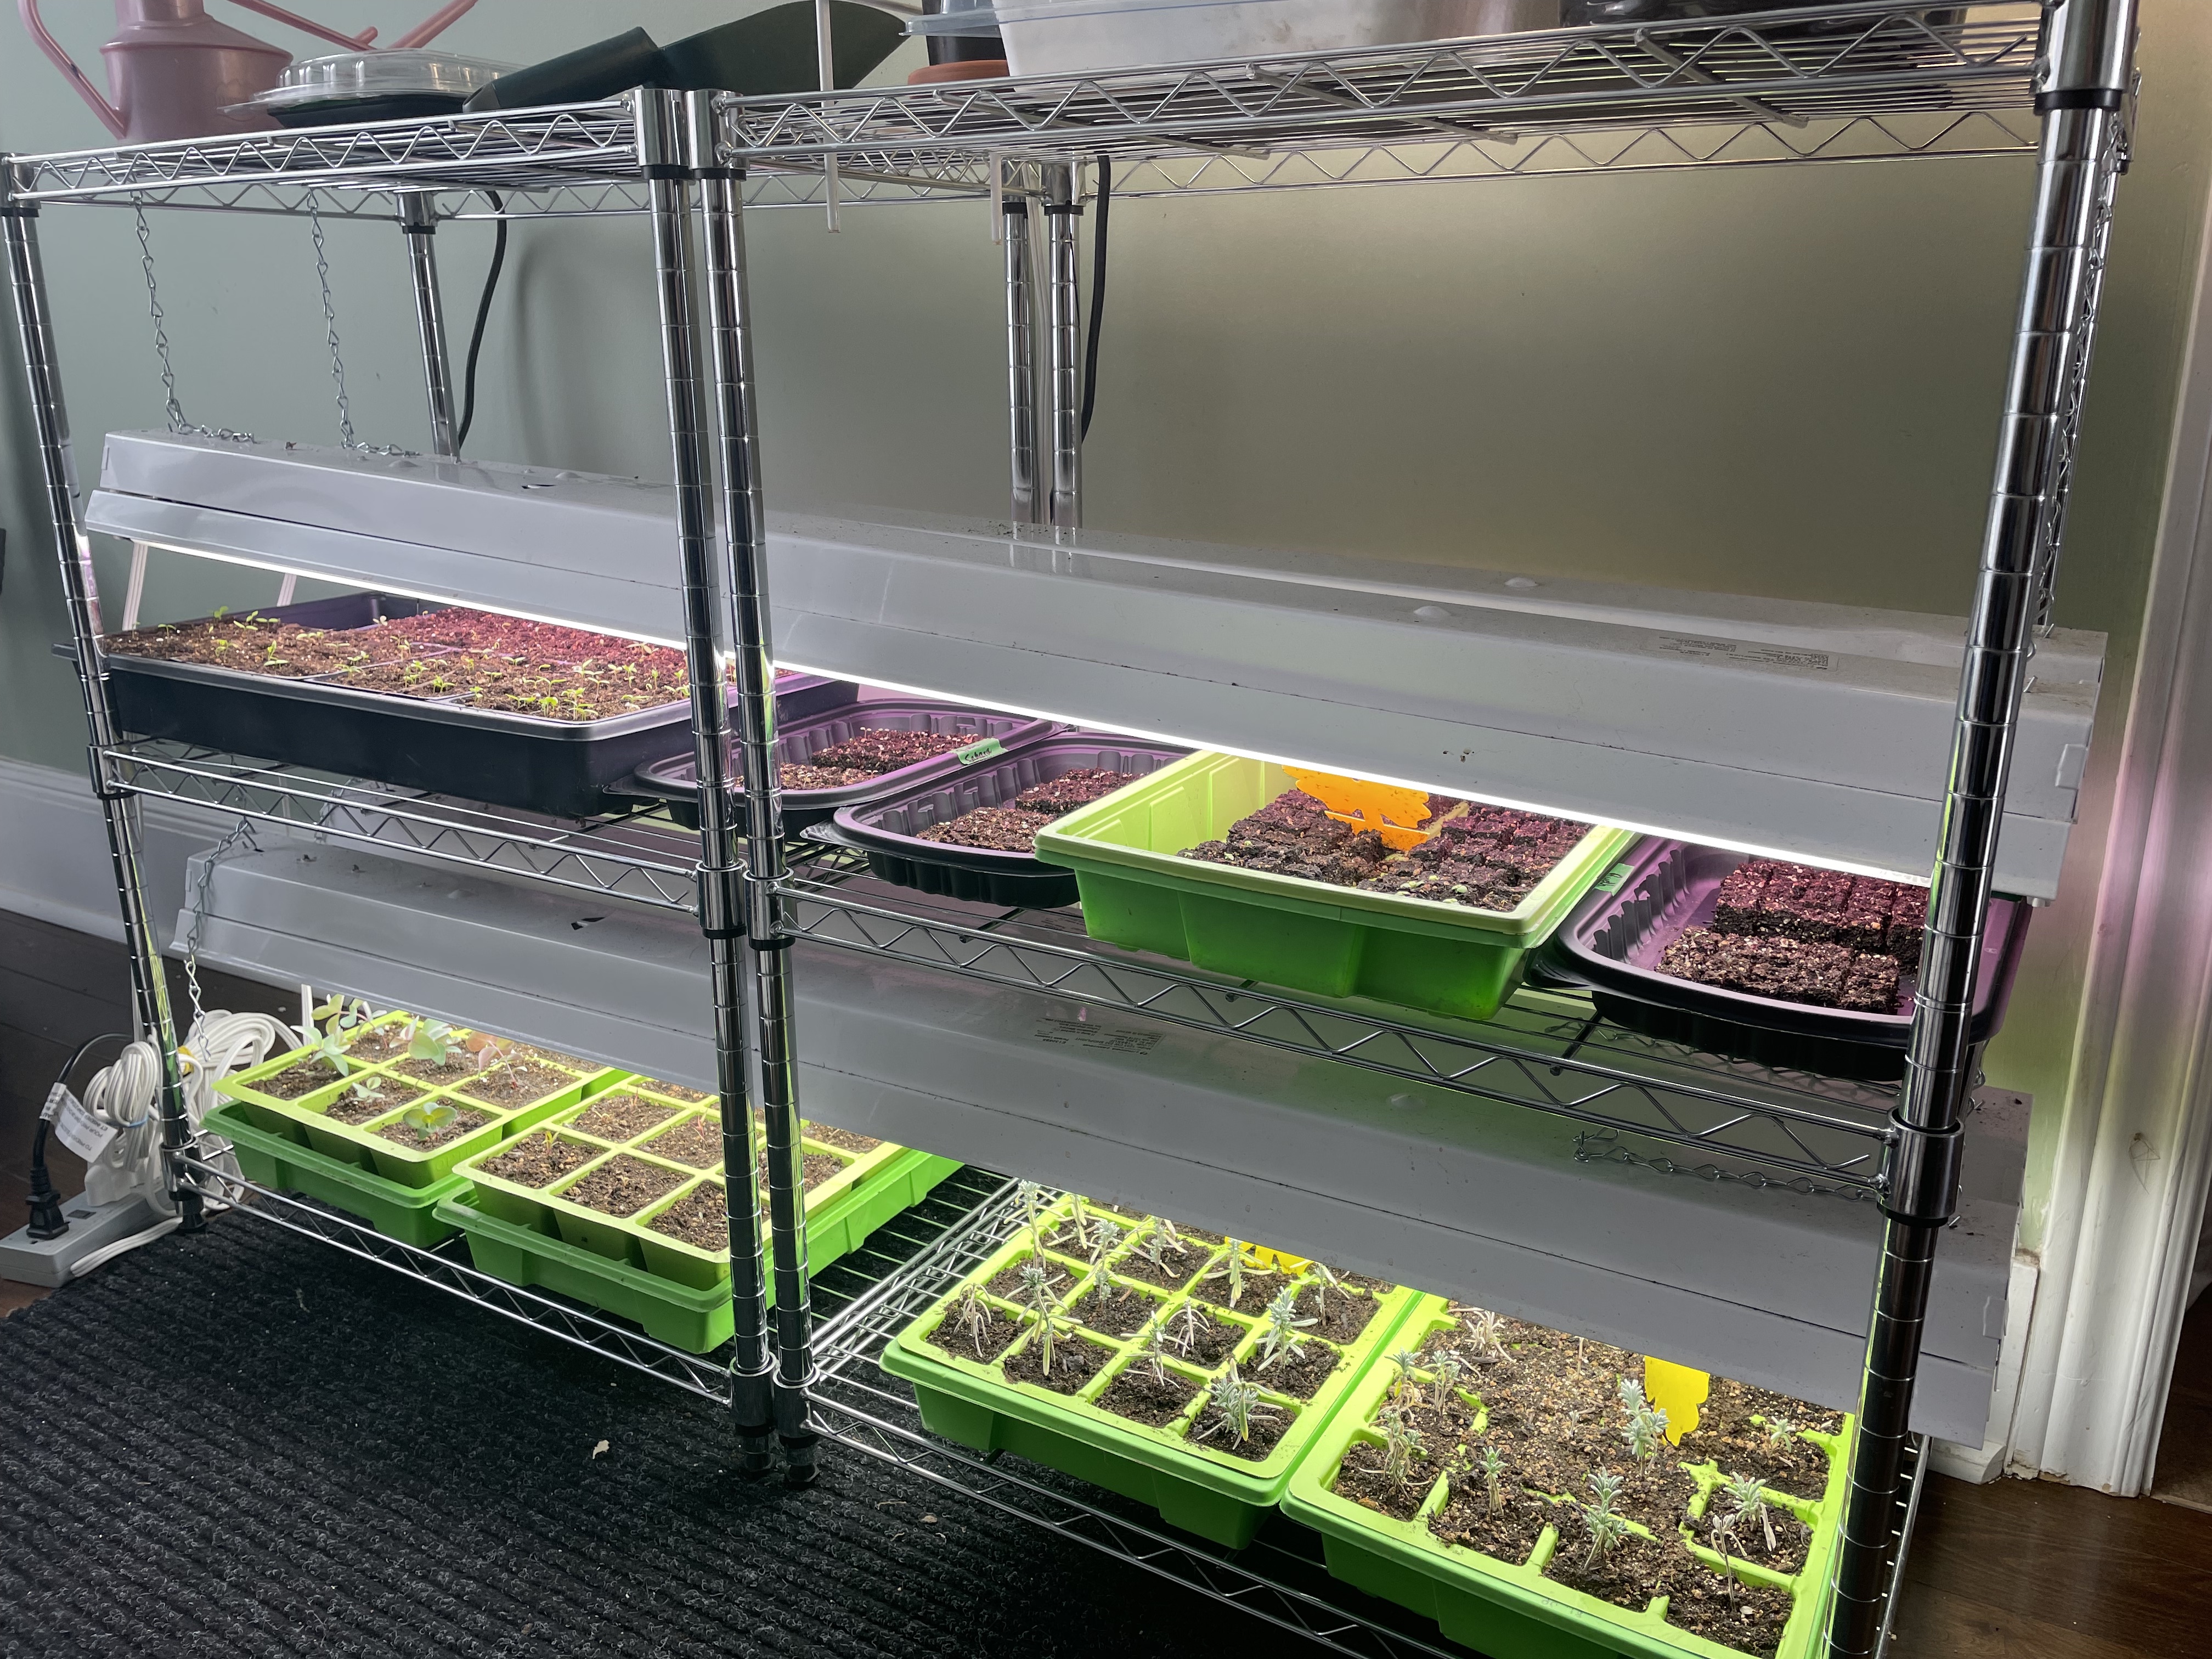
Start with your shelving. You will need something big & strong enough for the size of your seed trays or containers and the weight of your lights, so be sure to check the weight capacity of each shelf. The shelves or framework of the unit will need to have holes or something to hang your lights from. Your shelving unit will need to be roughly the same width as the lights you plan to purchase so it’s a good idea to look around and have a plan before you purchase anything.

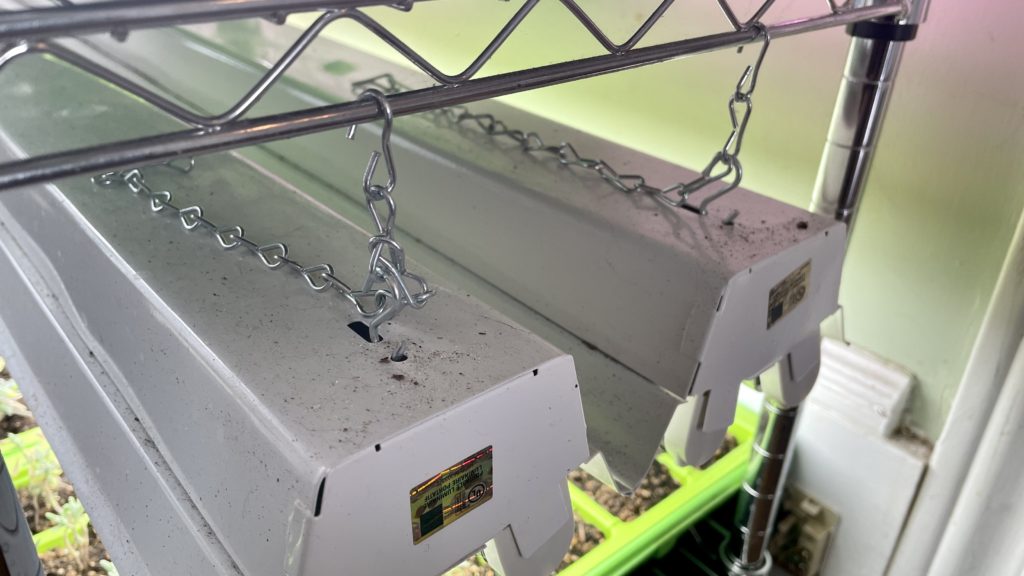
By far the most inexpensive and versatile light system is to purchase 4 foot shop light fixtures that plug into an outlet and come with an adjustable chain for hanging. They require T8 fluorescent tubes and the recommended tubes for seed starting are one cool & one warm white, or ones specifically made for plant growth which is what I use in my system.
If your shelving unit is 12 inches deep or more, you will need to plan for two shop light fixtures per shelf.

A note on the more expensive LED lights: These will also work but will need to be hung much higher above your plants than the T8’s will. They are also better for growing fruiting plants to maturity, rather than just seed starting. If you don’t plan on doing this, I would recommend the much less expensive shop lights.
You will also want large seed trays without holes for watering, so you don’t end up with water dripping down onto the lower shelves and your floor. Place smaller containers of seedings or inserts into these trays to water, just be sure to check on them 5-10 minutes after watering to ensure all the water has been absorbed. If there is any left, discard it right away.
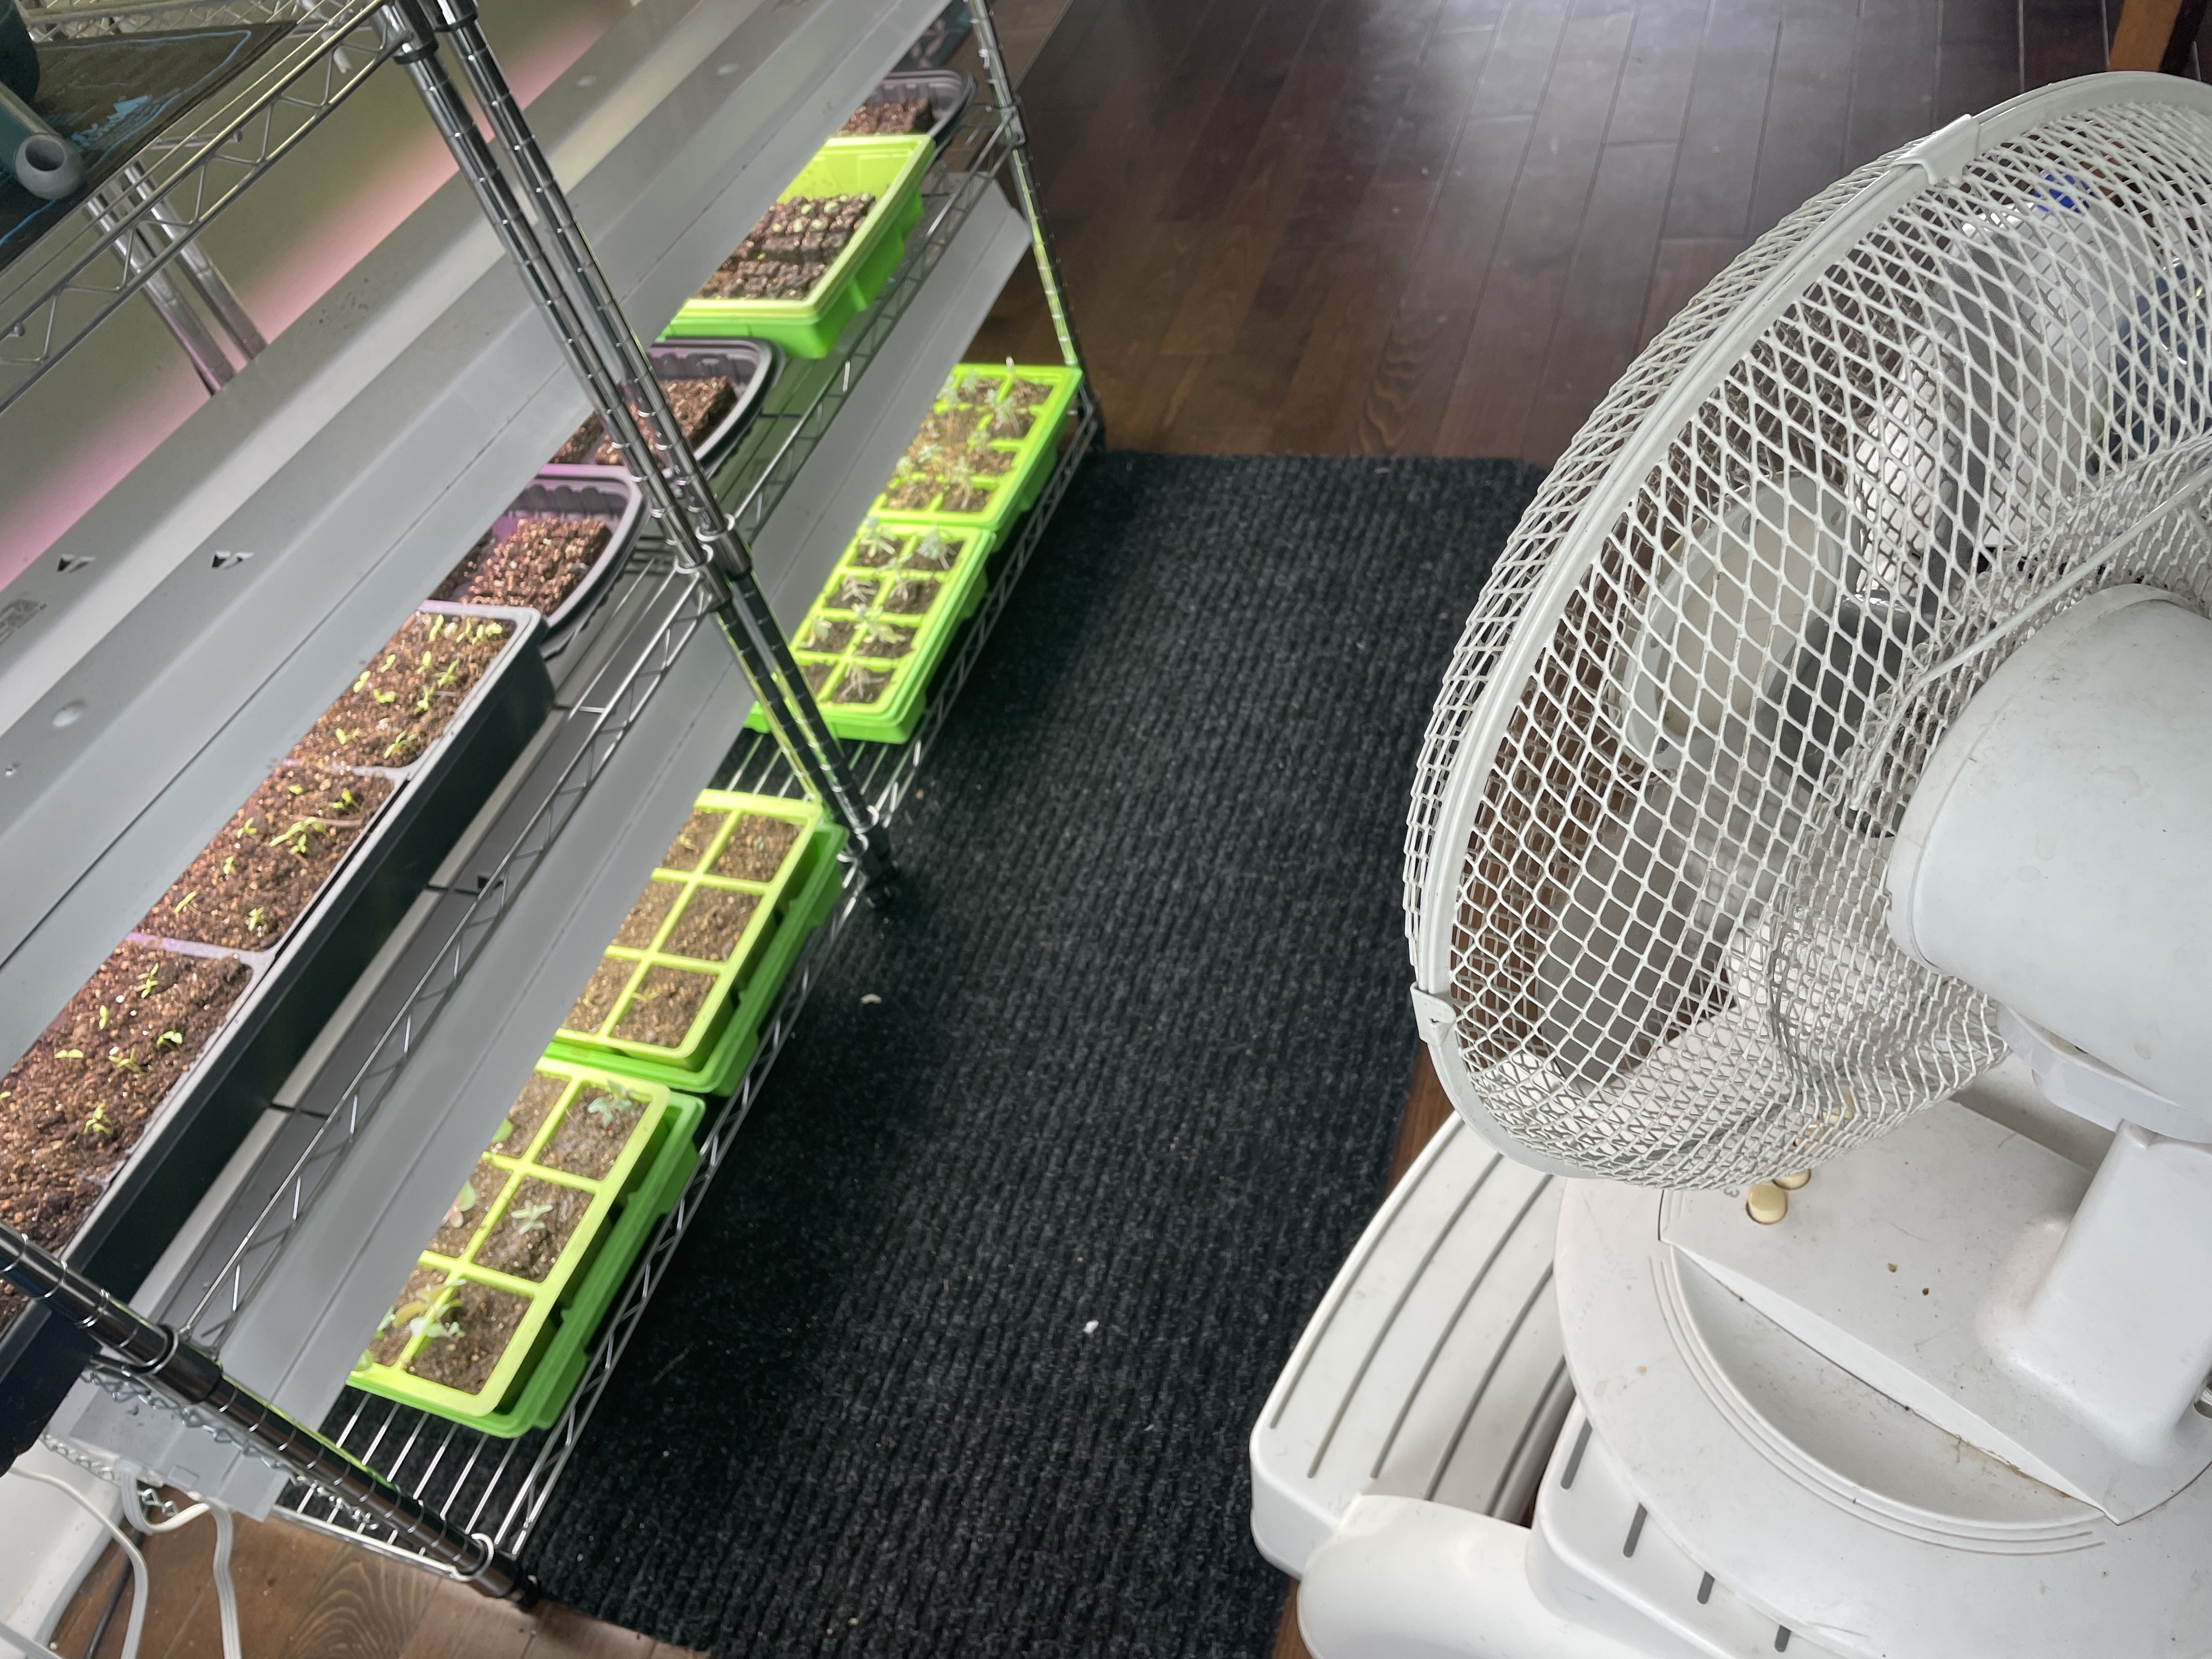
A fan is not essential but will help your seedlings grow strong and lessen the time it takes to harden them off (more on that later). It can also help prevent damping-off disease form too much moisture.

Place a small oscillating fan a few feet in front of your seedlings and turn it on a low setting for a few hours a day. I recommend watering your seedlings before turning on the fan, as the increased airflow can dry them out quickly, especially the small soil blocks.
Electricity
You will need an outlet near your shelving setup. Make sure it is NOT directly behind the unit where it could be exposed to water. 2-3 feet away is best, with a good quality power bar/surge protector where you can plug your lights into. This is necessary if you have more than two lights, and it is also much easier to turn off a switch that it is to unplug them all individually. You can also get automatic timers to do this for you. It is recommended to leave your grow lights on for 14-16 hours a day.
Setting up your lights is as simple as removing them from the box, adding the fluorescent tubes, attaching the chain and plugging them in. You will want to keep your lights consistently 2-3 inches above your seedlings. Be sure to raise the lights as the plants grow, if they grow up and touch the lights the plants could be damaged.
This setup helps us grow thousands of seedlings every year right in our home, so I can keep a close eye on them as they grow. I keep my small heat mats on the top shelf for germinating for more use of space where I can’t hang a light.
Here is what I spent. I had the two shelves already, they were two feet wide so I pushed two together. To buy them new at Walmart.ca they are currently $32.97 each. A 4-foot shop light fixture is $24.98 apiece, with T8 fluorescent bulbs at $19.98 per pack of two (both at homedepot.ca). Note these are Canadian sites and prices, It will likely be a bit cheaper if you are located in the US. I have had my fan for many years but you can find them starting around 20$.
That puts the grand total for my shelf, lights and fan shown above at just over 240$. However, I spent only 180$ for the light fixtures and bulbs, since I already had the shelves and fan. This seems like a lot for a small setup, but this is an investment that will give me many years of indoor growing. I use them to grow micro greens, herbs and leafy greens in the winter months as well. The only ongoing cost will be to replace the light tubes every 3 years, and the electricity cost is minimal. We don’t even notice much of a difference on our power bill.
Please leave a comment if you have found other inexpensive systems that work, or suggestions on where to buy similar products in the US.
Thanks for reading and Happy Growing!
Watch on YouTube https://www.youtube.com/channel/UCOoNb9pFOMHavIoxXuHjiMg
Nicole Barrett lives and gardens in zone 6, Nova Scotia Canada with her husband and two children. A beautiful province on the East Coast of Canada with harsh, unpredictable winters. Summers are hot and often dry, we get close to 120-130 frost free days late May and late September/early October. She grows fruit and vegetables for the family as well as culinary herbs and cut flowers for local shops and farmers markets. A trained classical pianist, she also teaches 40 private students during the school year.